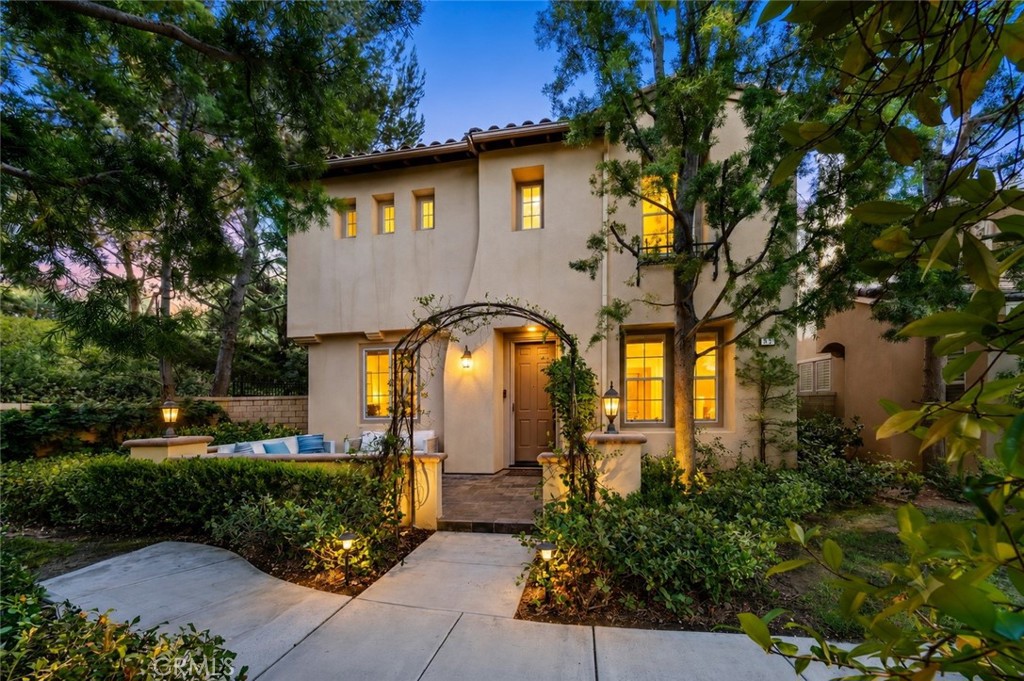
Rarely does a home combine such an exceptional location, PREMIUM LOT, beautiful upgrades, sought-after floor plan, and resort-style outdoor living as 95 Canopy. Ideally situated within the highly desirable "Laurel" neighborhood of Quail Hill—just one block from award-winning Alderwood Elementary School—this beautifully appointed residence occupies one of the largest and most desirable lots in the community, offering a rare combination of privacy and charm. A vine-covered arbor welcomes you into an inviting front courtyard—an outdoor living room that creates a memorable sense of arrival. An extra-long driveway, spacious side yard, and expansive backyard further distinguish this exceptional property. Inside, one of Laurel's most popular floor plans features rich hardwood flooring, plantation shutters, custom built-ins, designer lighting, and abundant natural light throughout. The gourmet kitchen showcases beautiful wood cabinetry, granite countertops, stainless steel appliances, a center island, and opens seamlessly to the dining area and family room, creating an ideal space for entertaining. Designed for true indoor-outdoor living, beautiful French doors open to a private backyard retreat featuring extensive stone hardscape, a custom spa and fountain, fire feature, mature landscaping, and multiple entertaining areas. Towering pine trees create a tranquil natural backdrop rarely found in Irvine, offering the feeling of living surrounded by nature while enjoying the conveniences of one of Orange County's premier master-planned communities. Upstairs, the spacious primary suite provides a relaxing retreat with a luxurious bath. Two additional bedrooms are complemented by a generous loft ideal as a media room, office, or children's retreat. Originally offered by the builder as an OPTIONAL FOURTH BEDROOM, the loft provides future flexibility, while the tandem three-car garage offers potential for a fifth bedroom, gym, office, or multigenerational space. Residents enjoy Qua