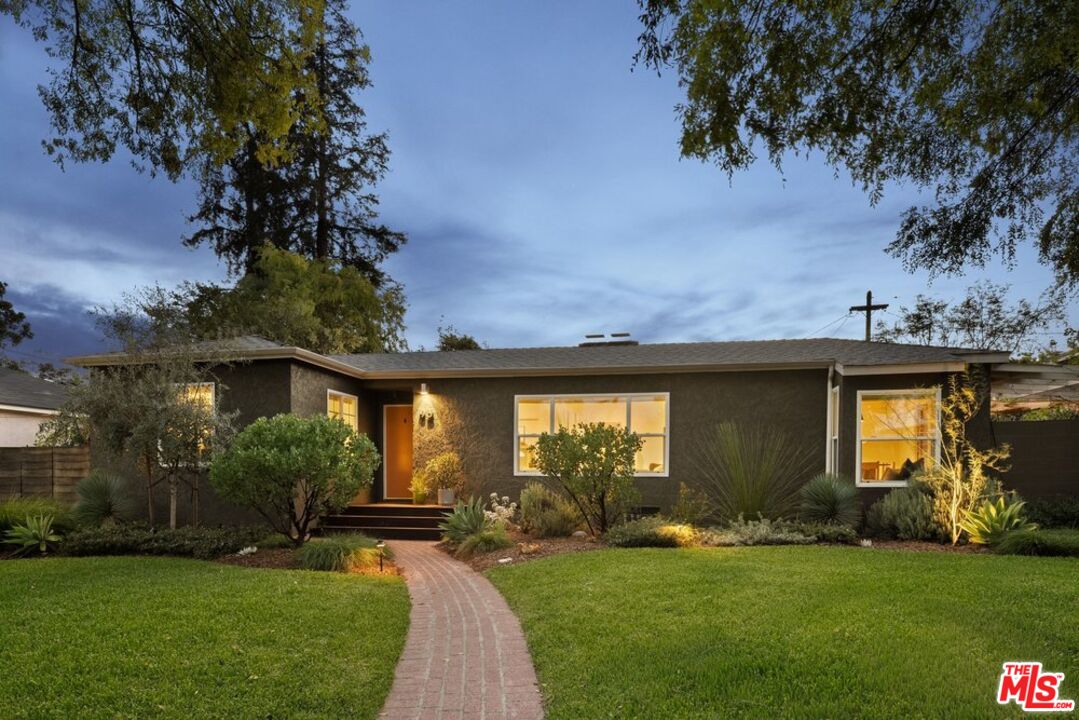
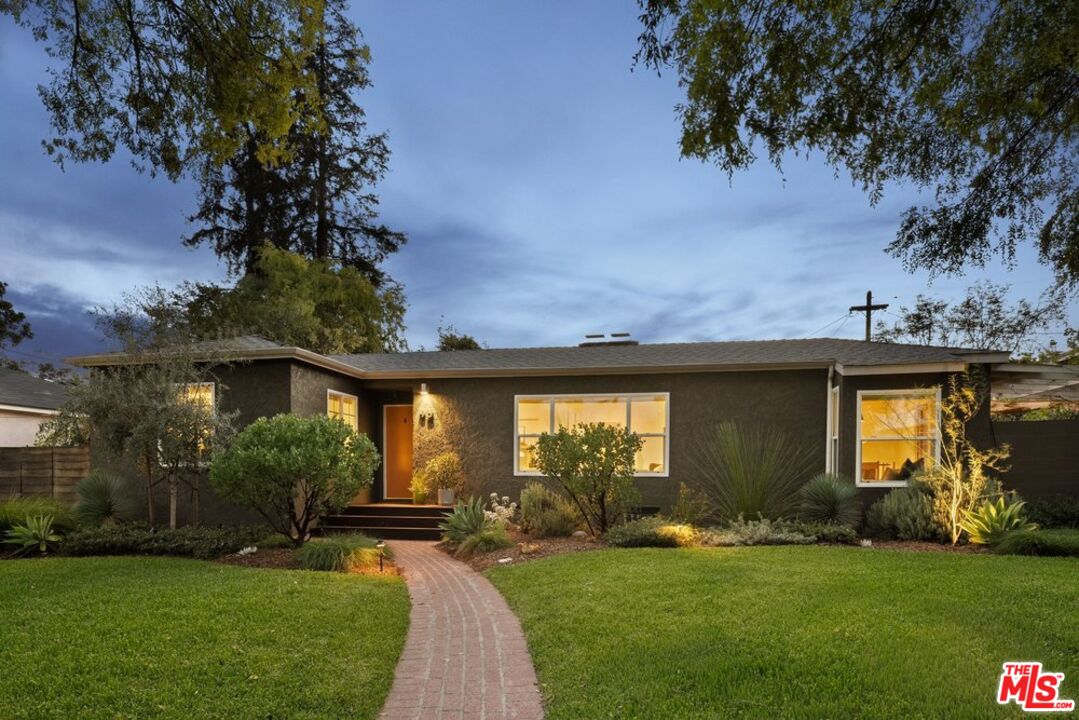
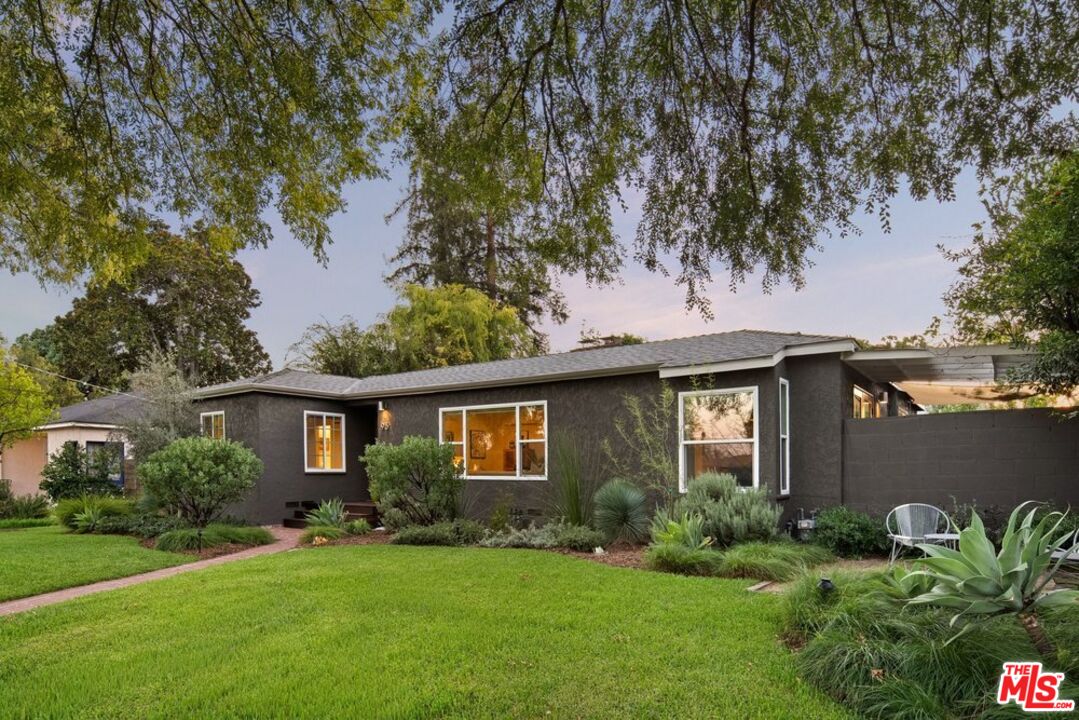
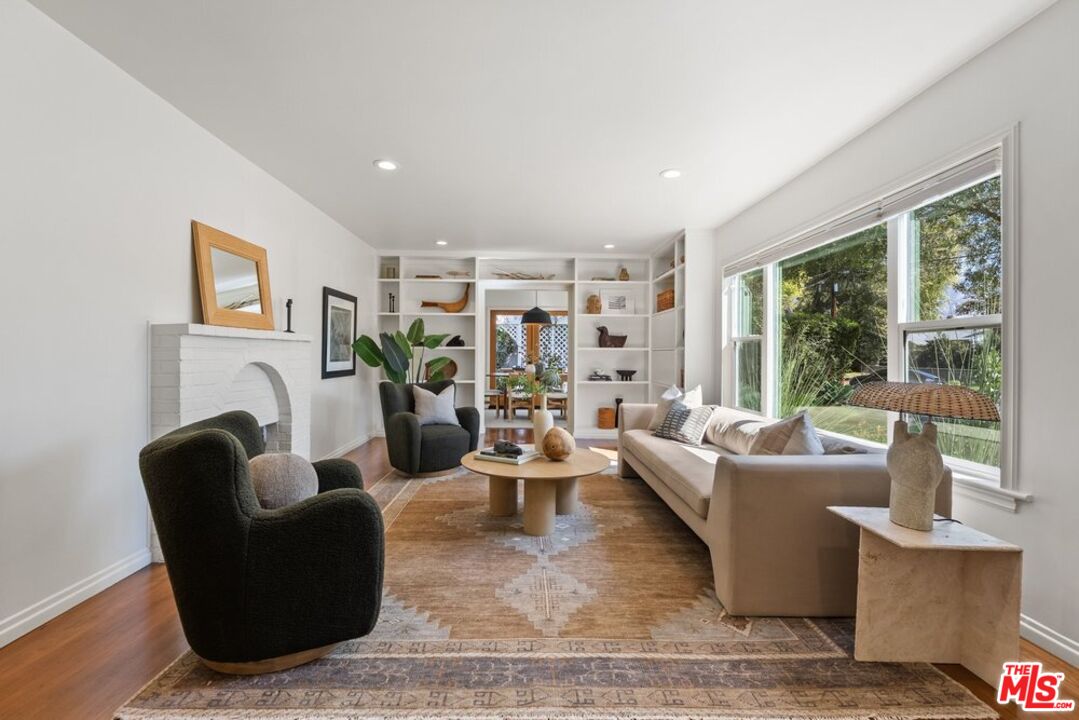
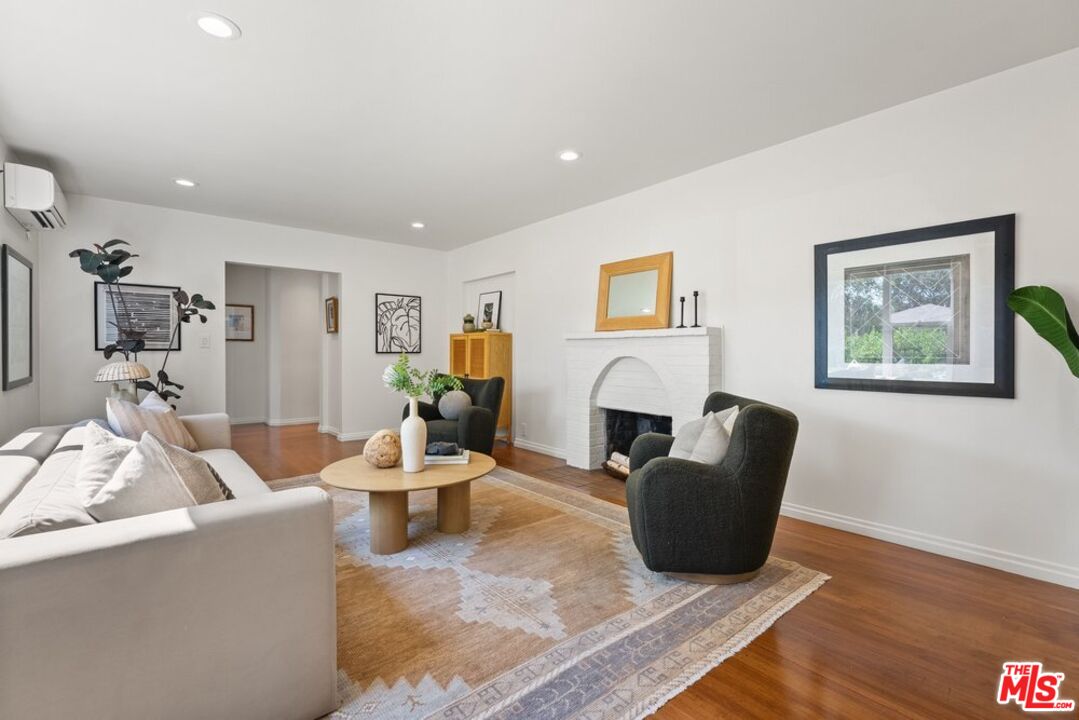
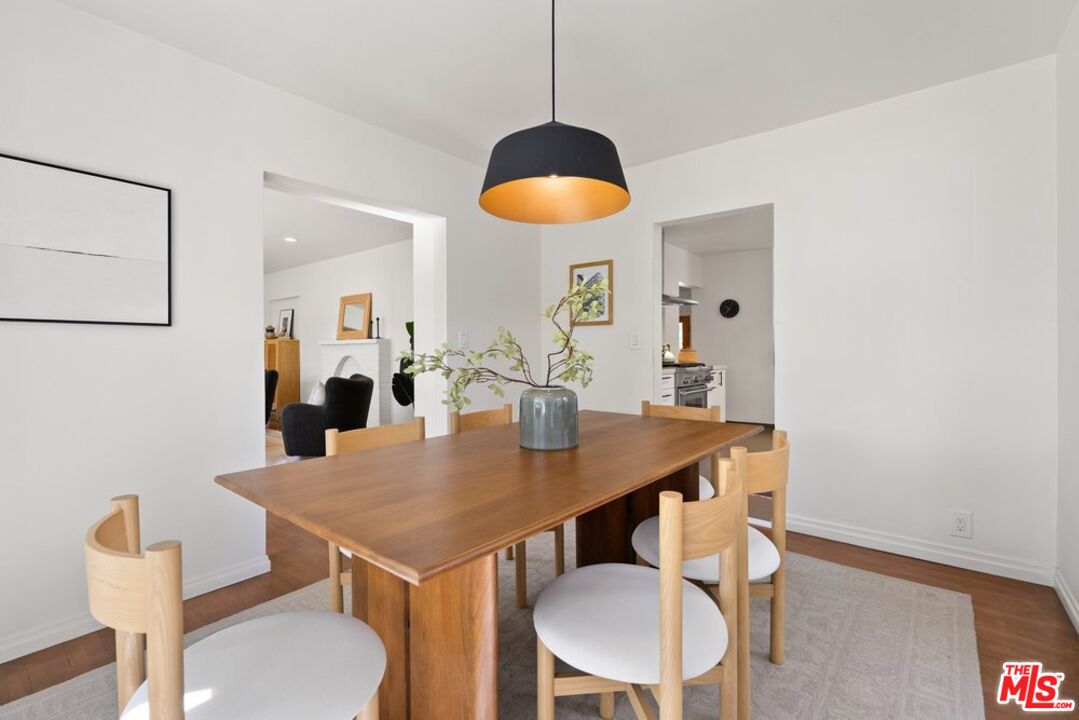
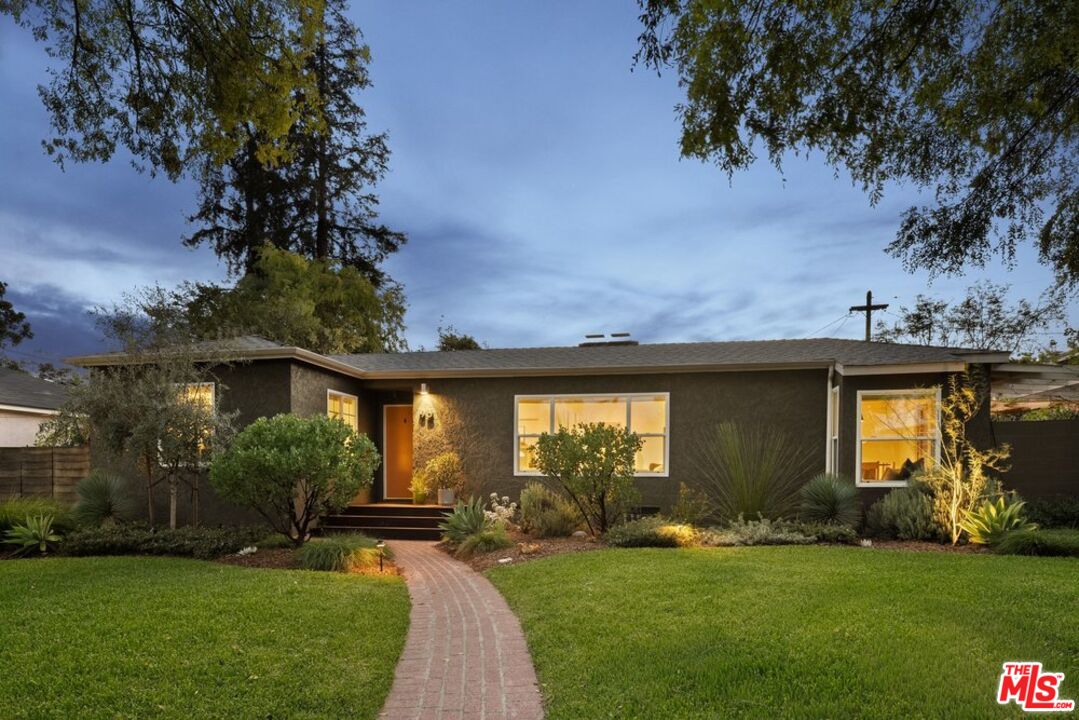
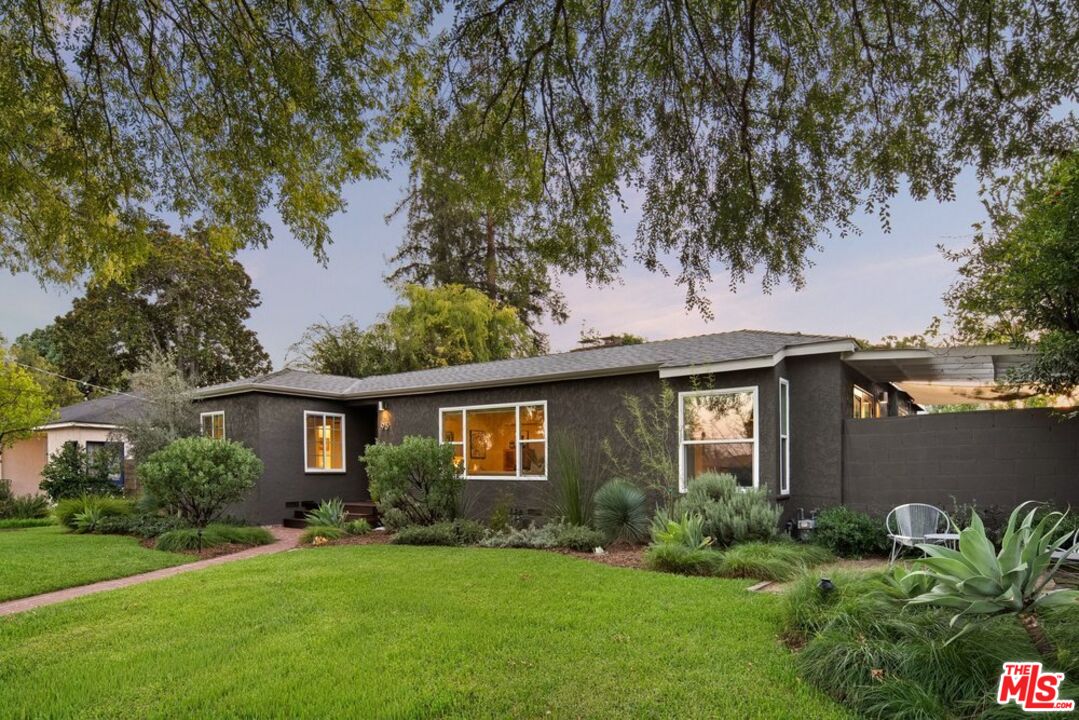
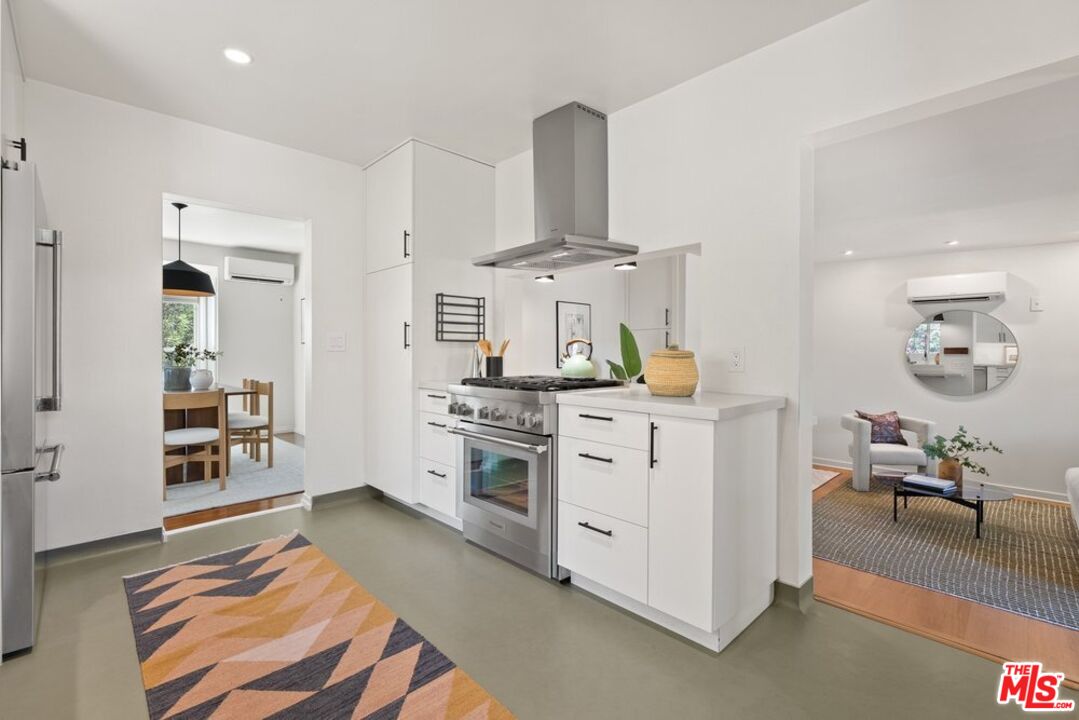
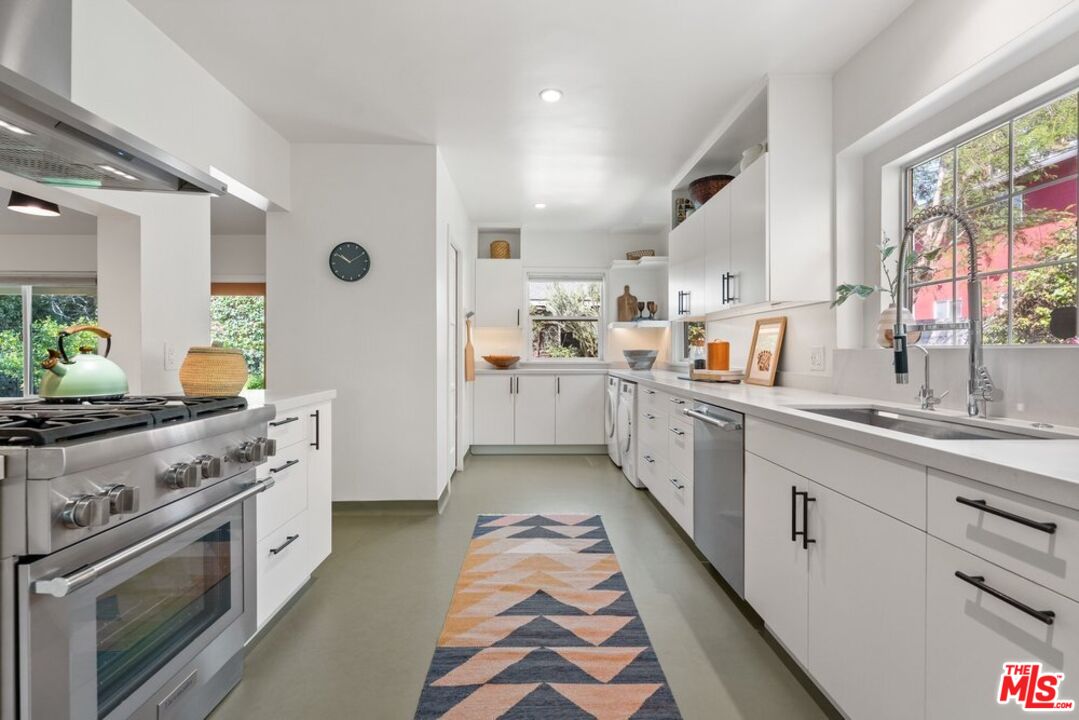
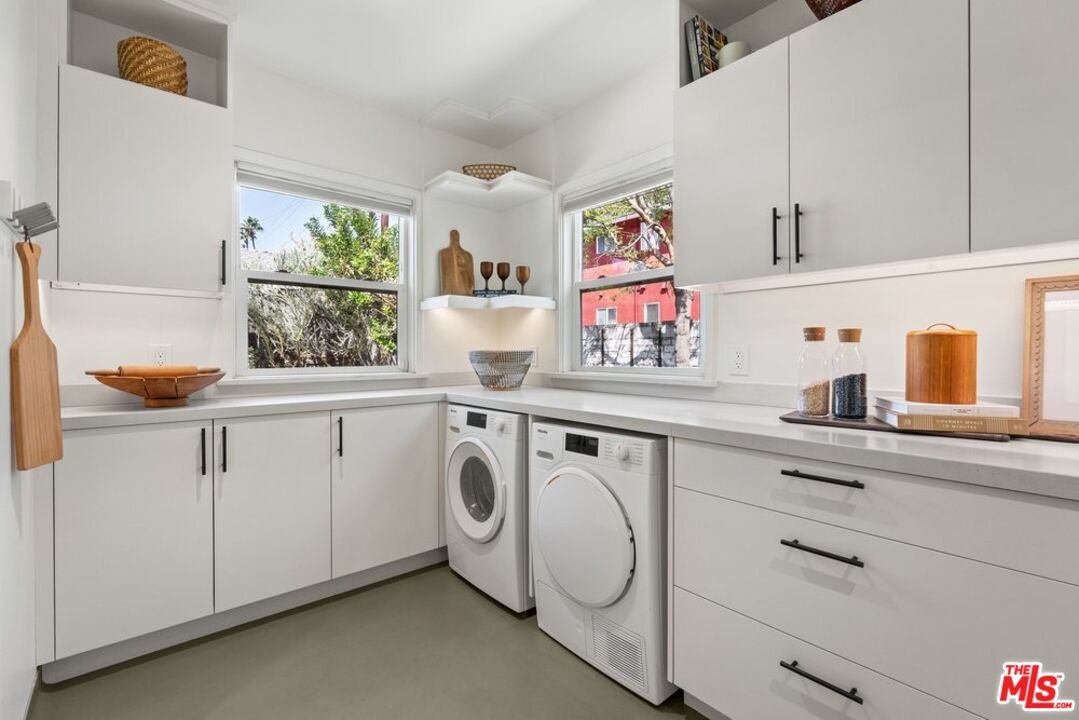
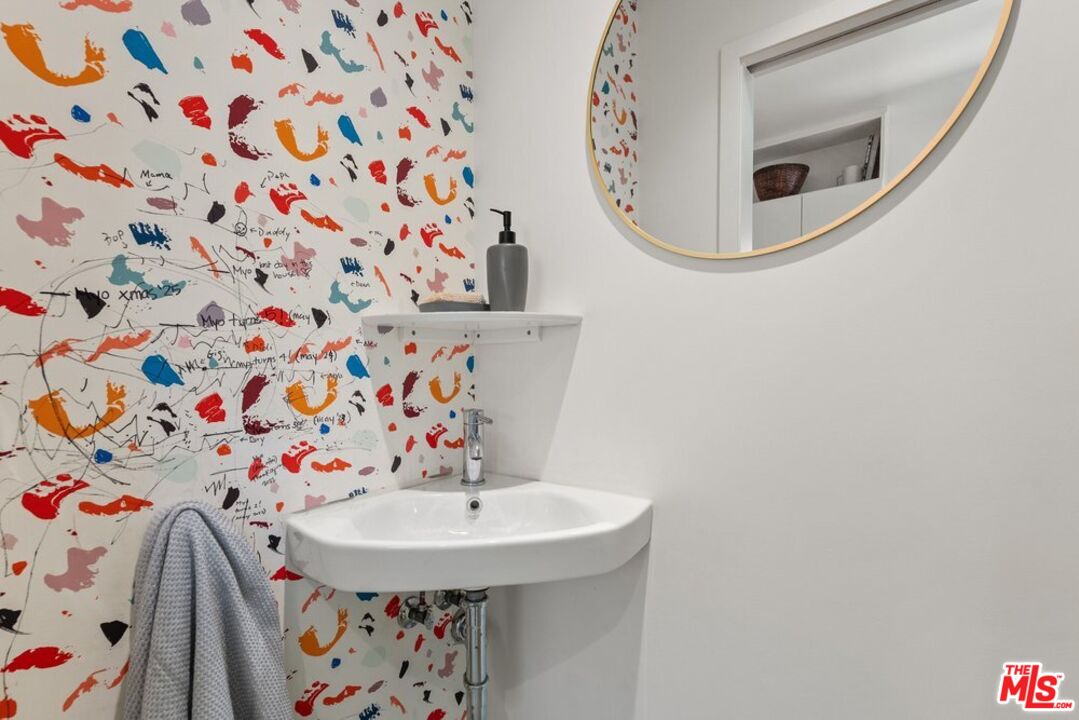
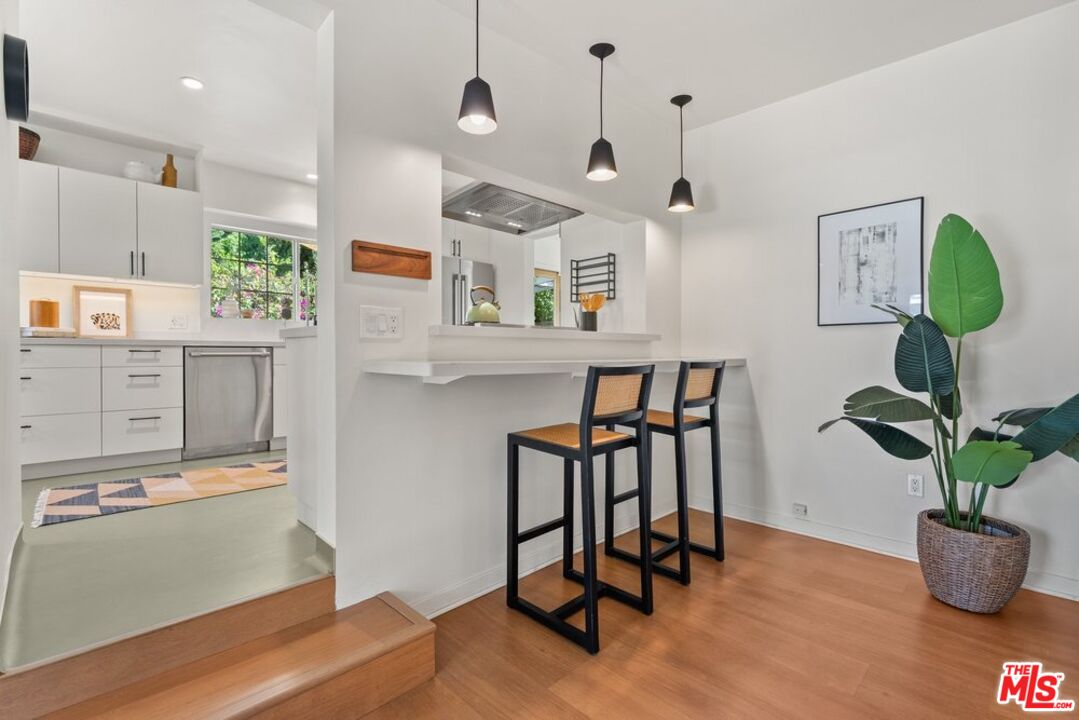
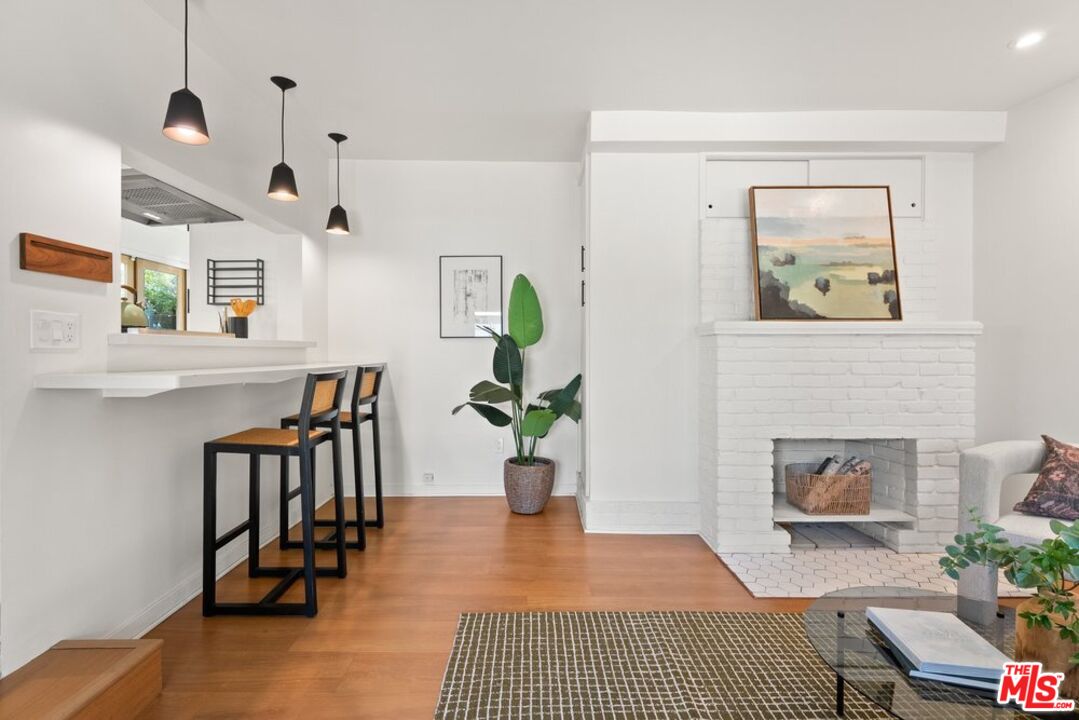
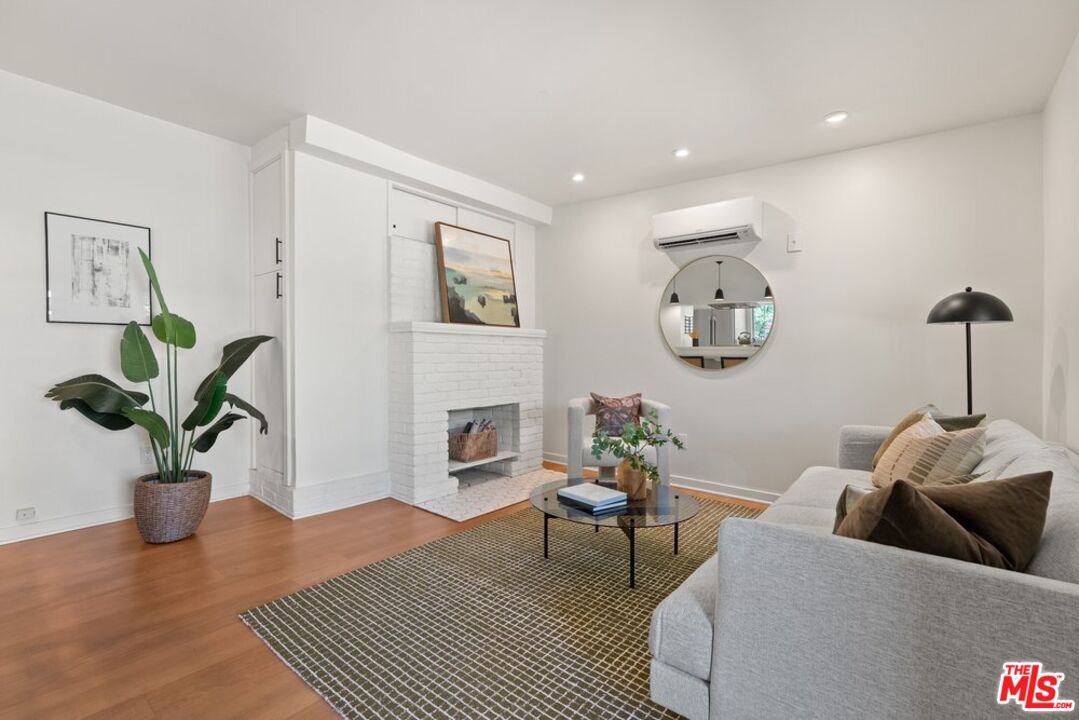
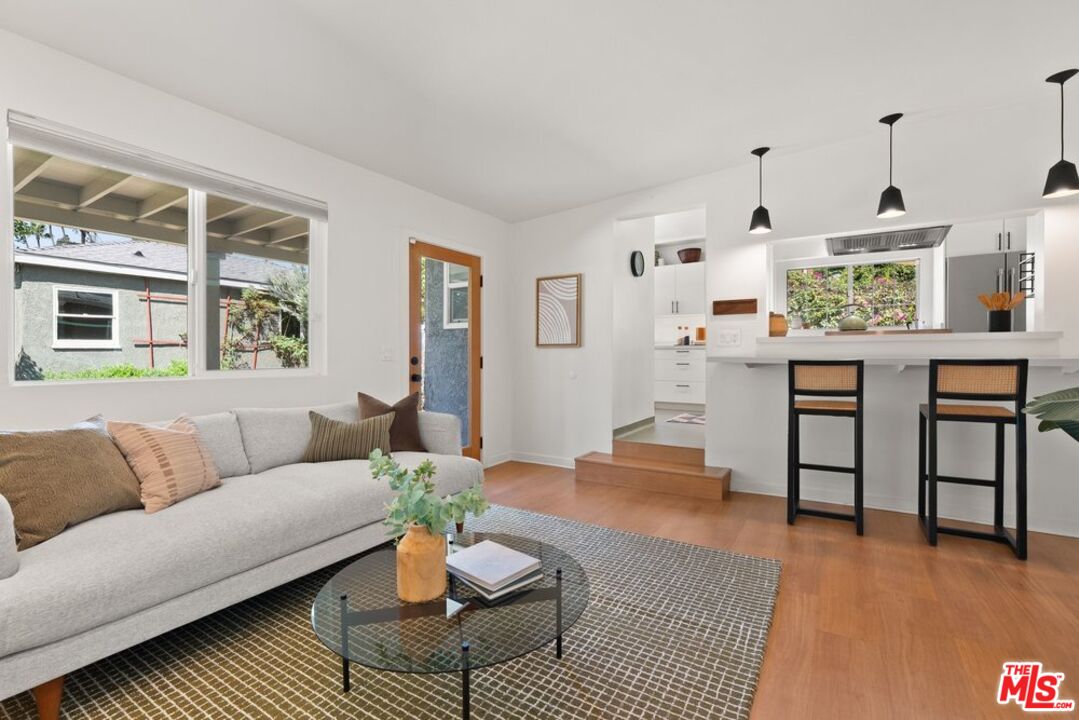
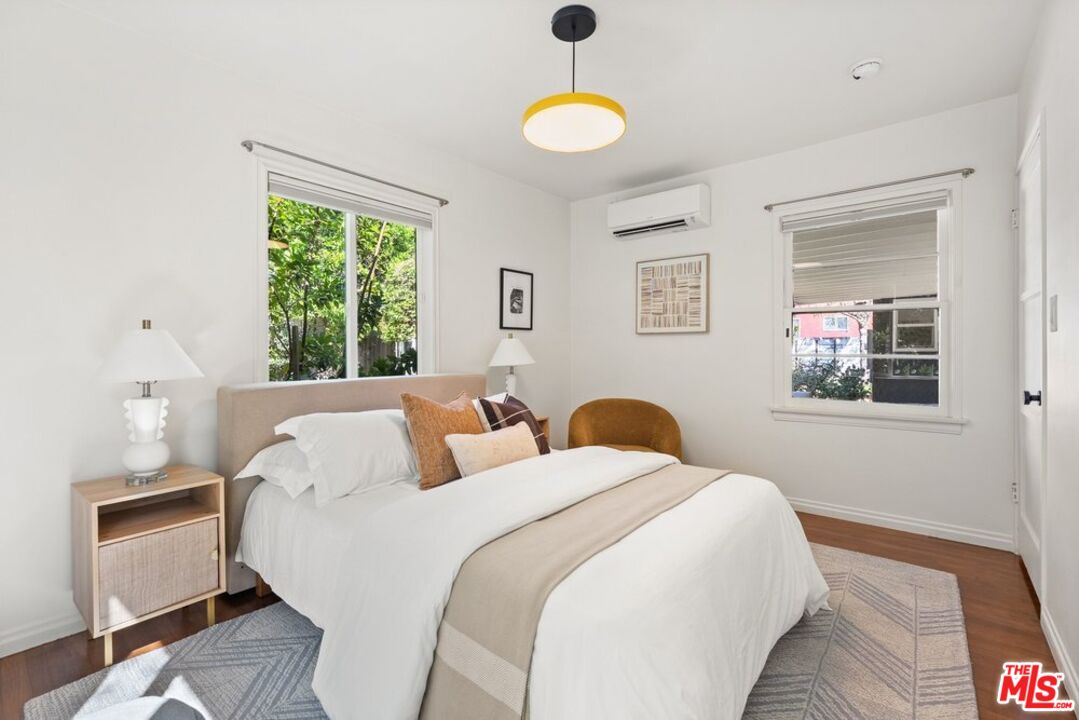
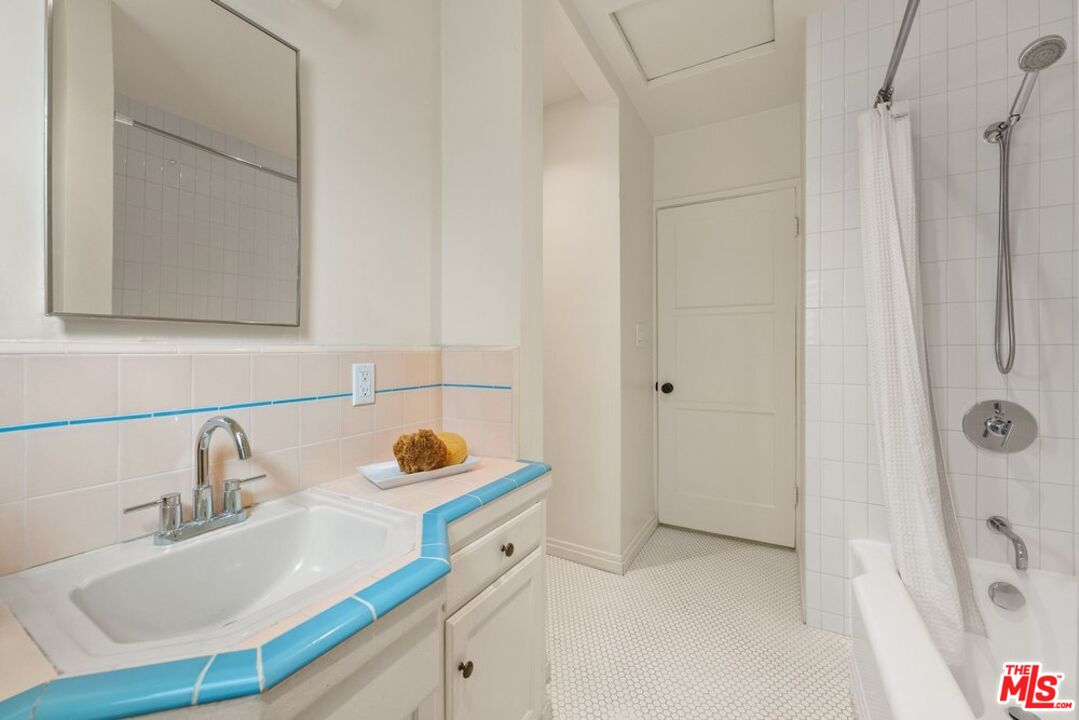
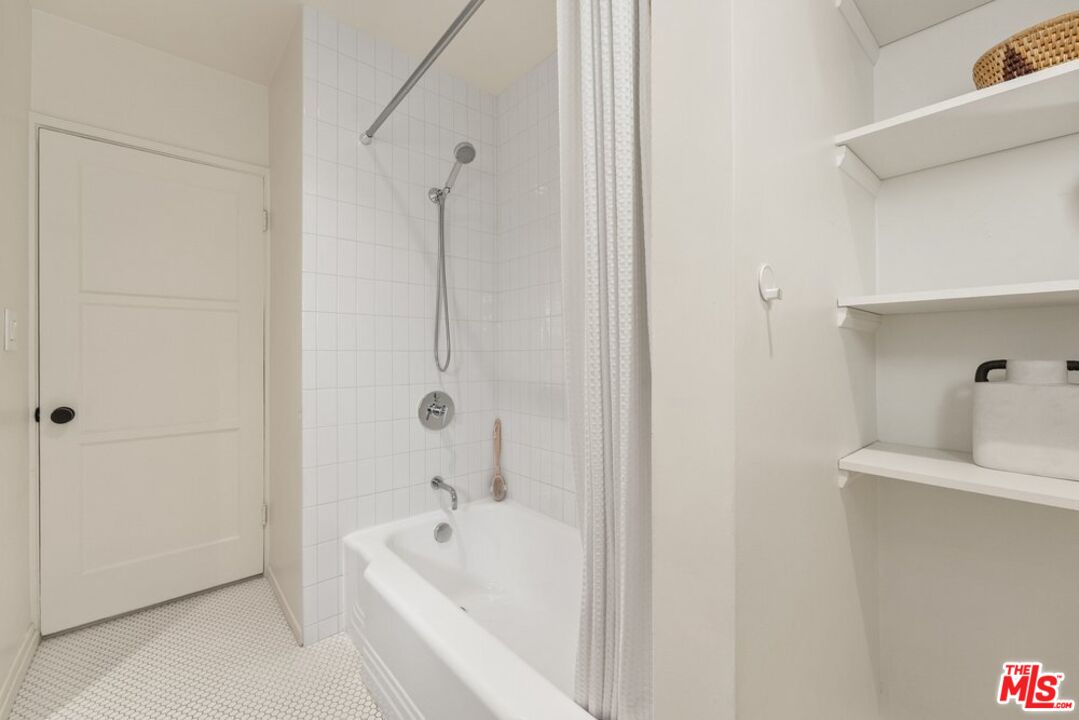
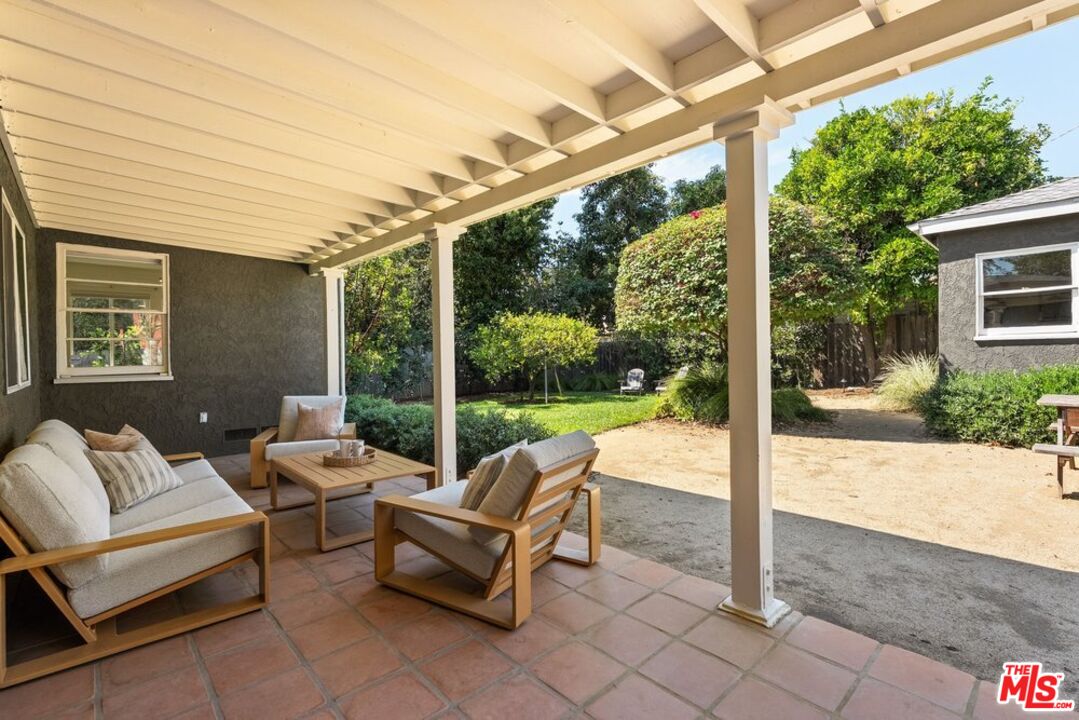
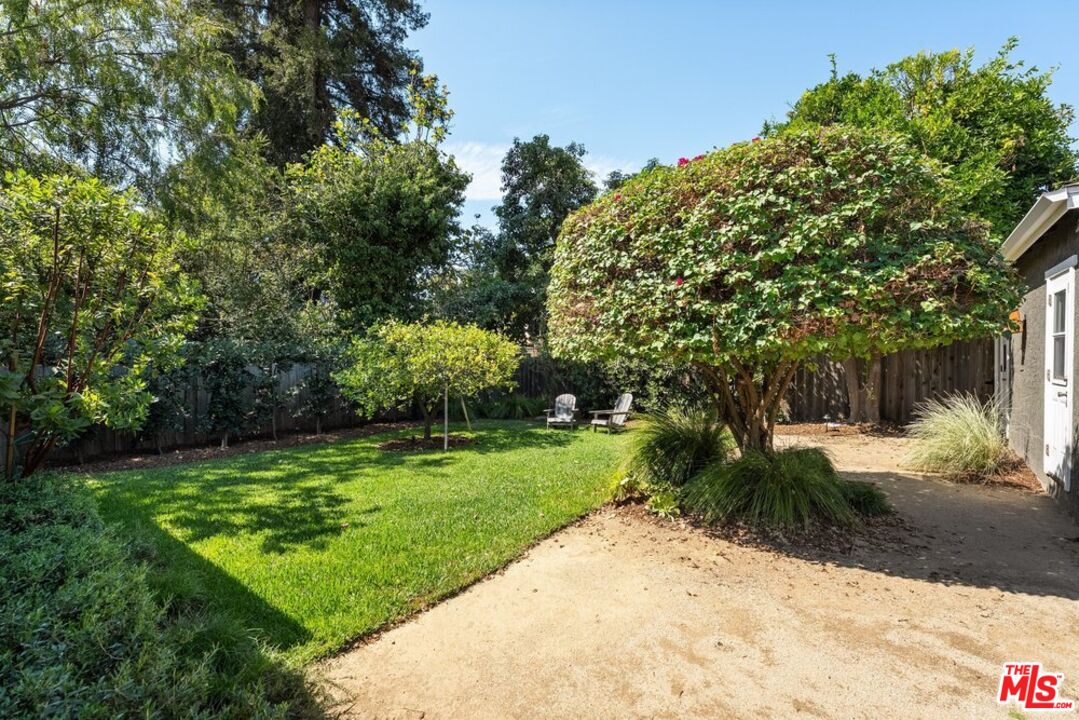
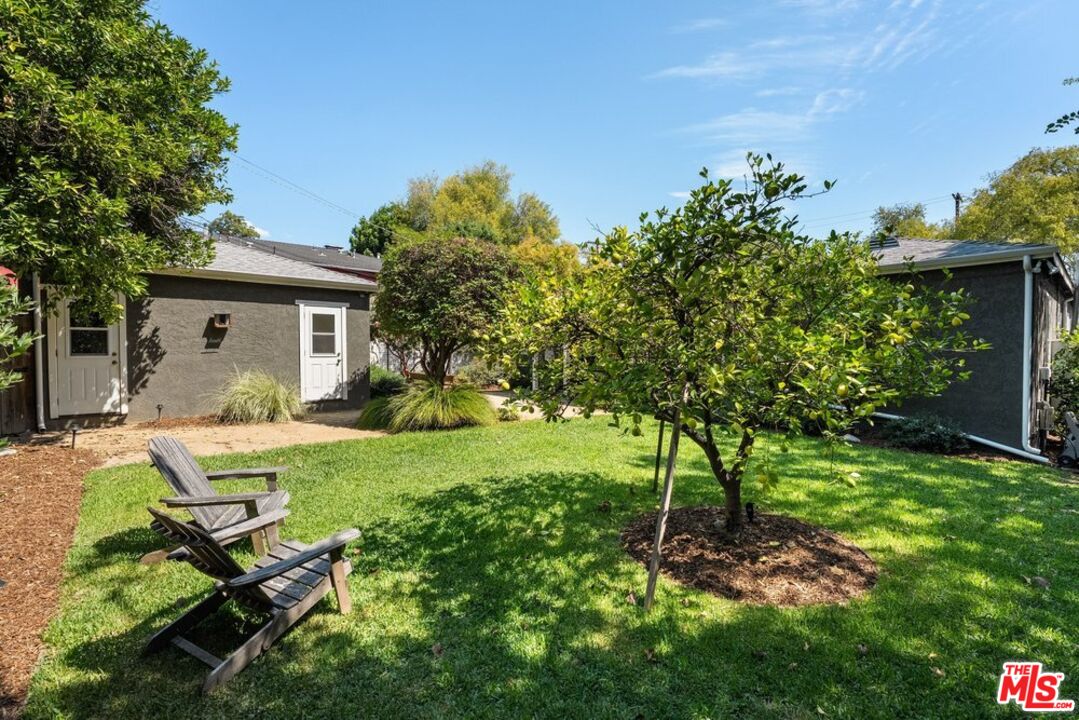
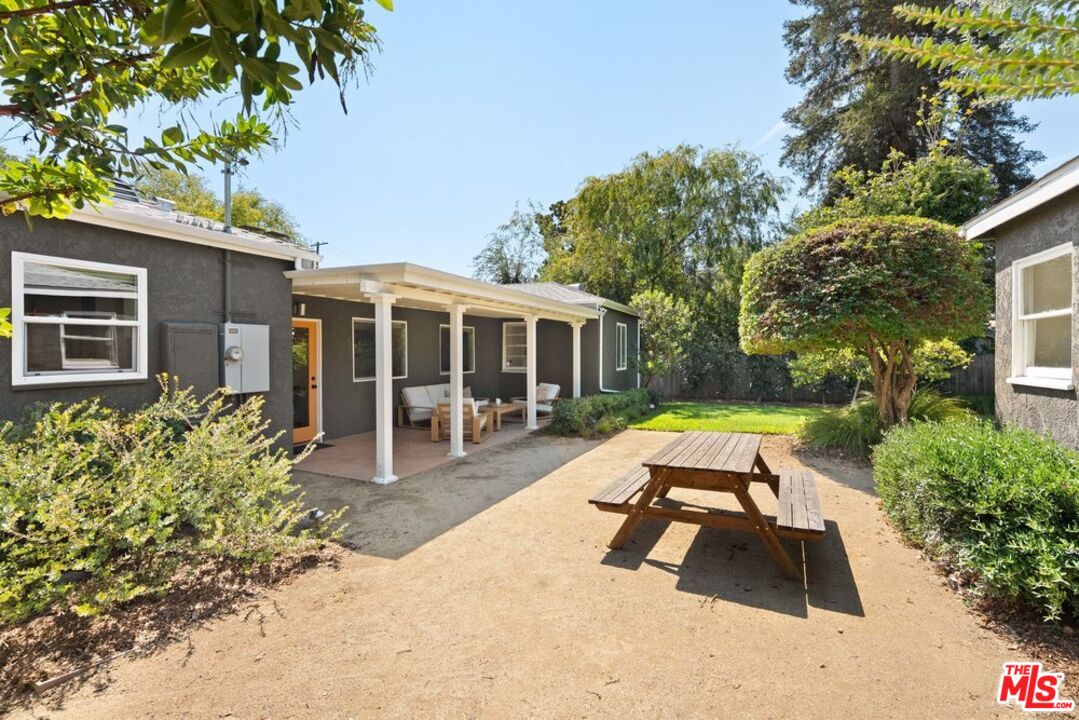
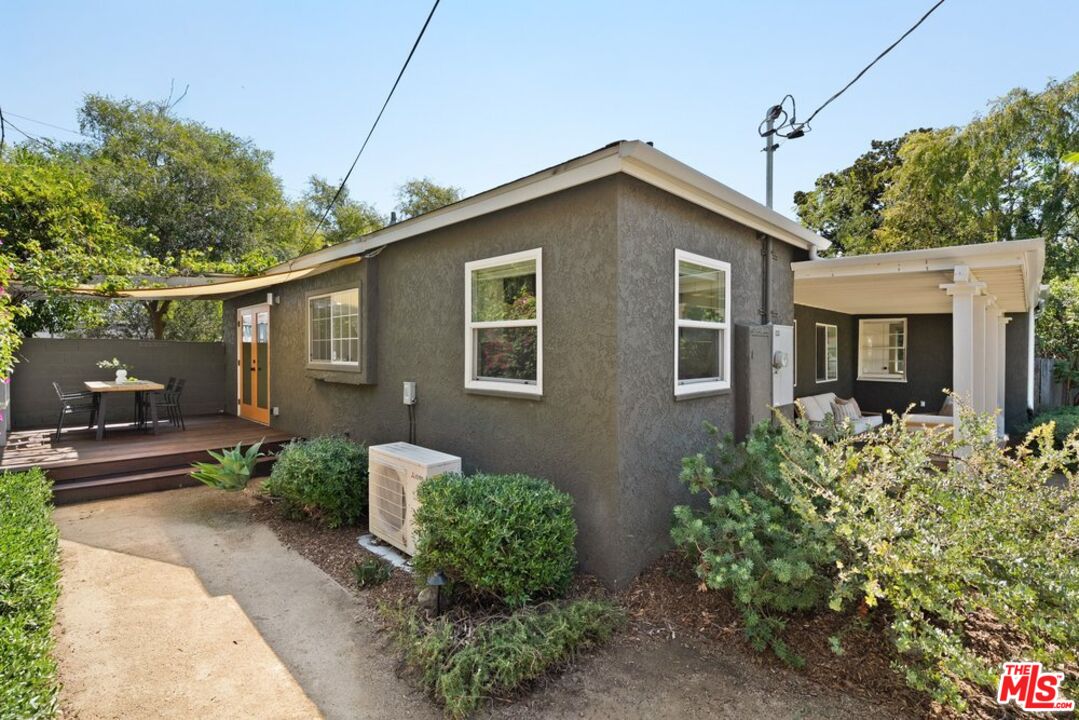
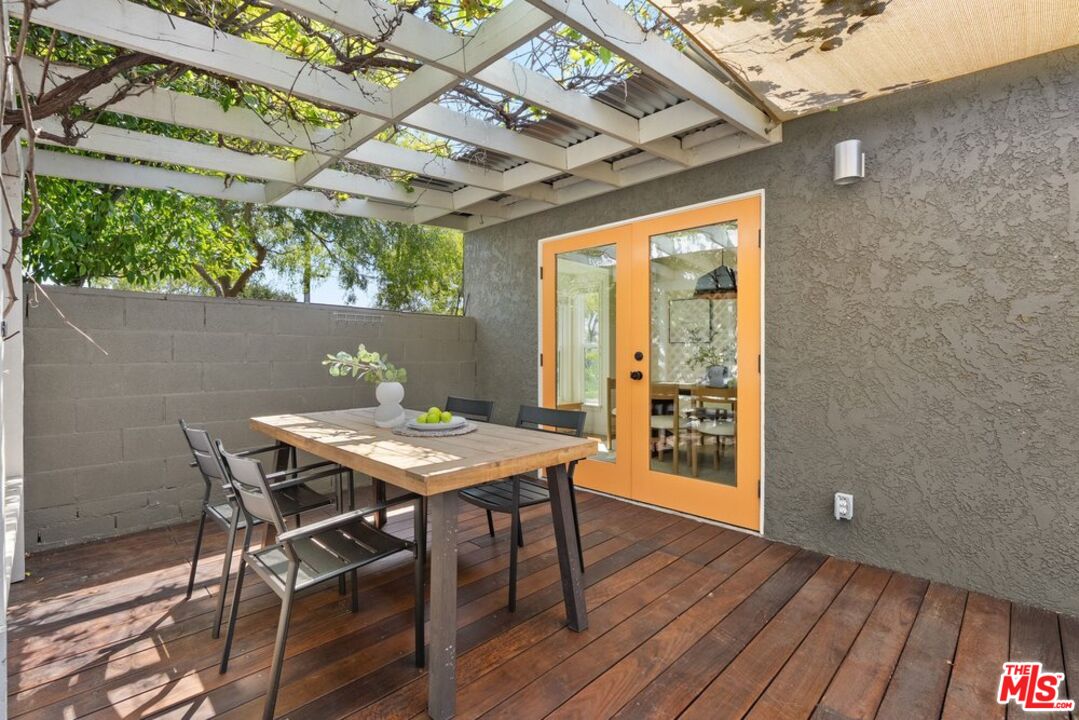
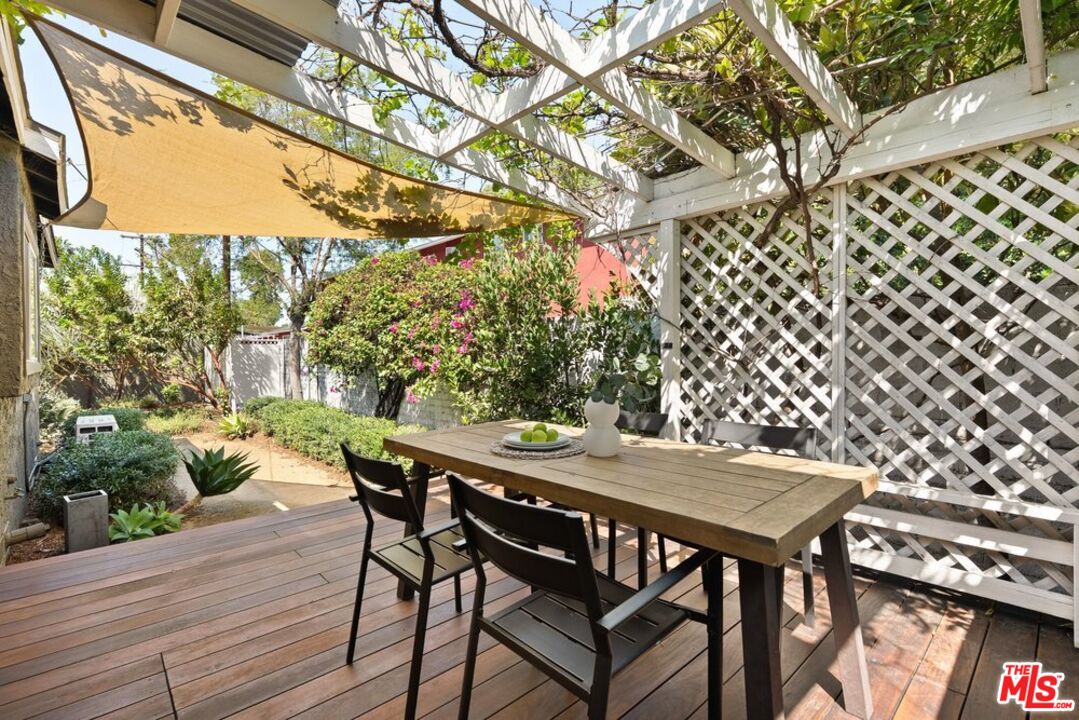
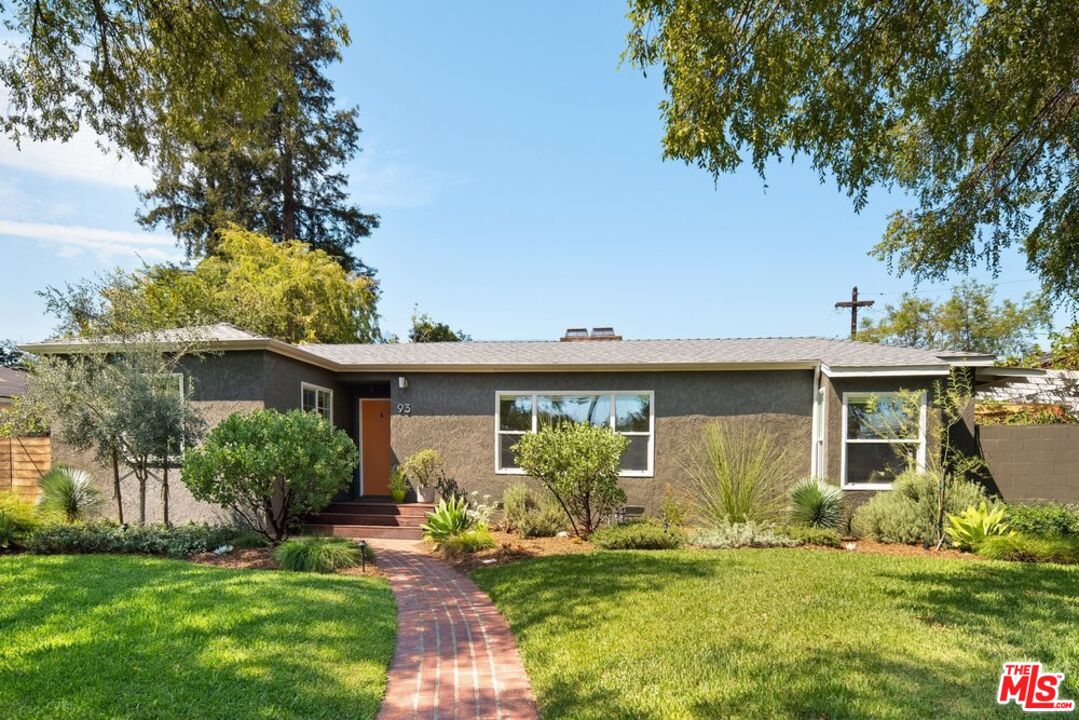
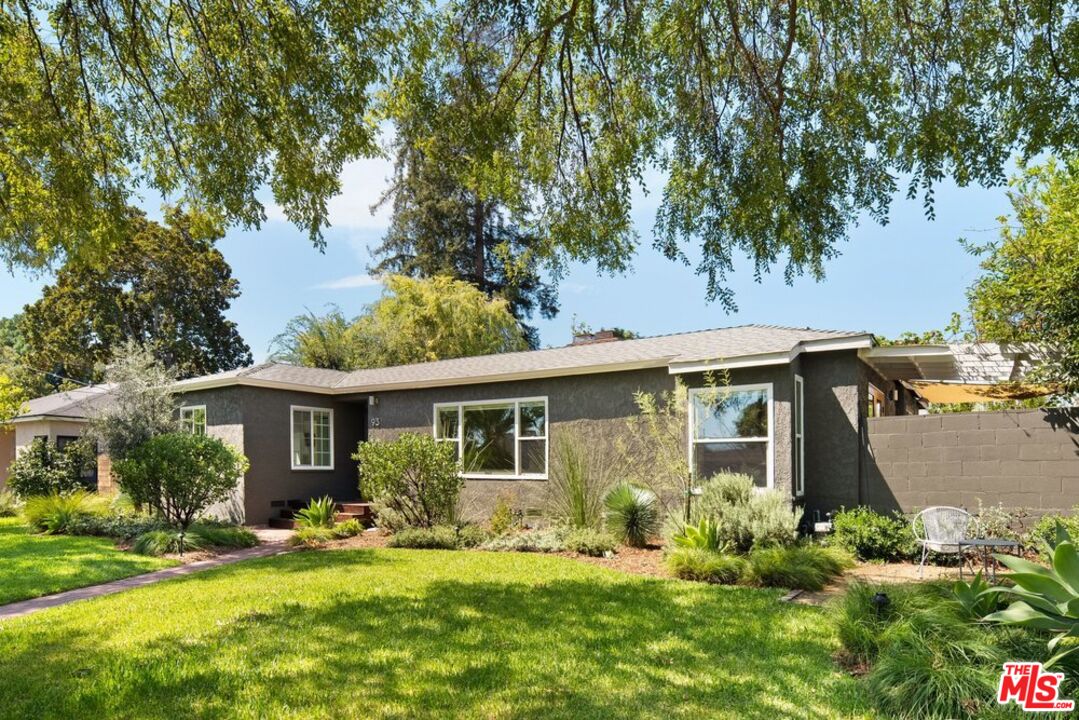
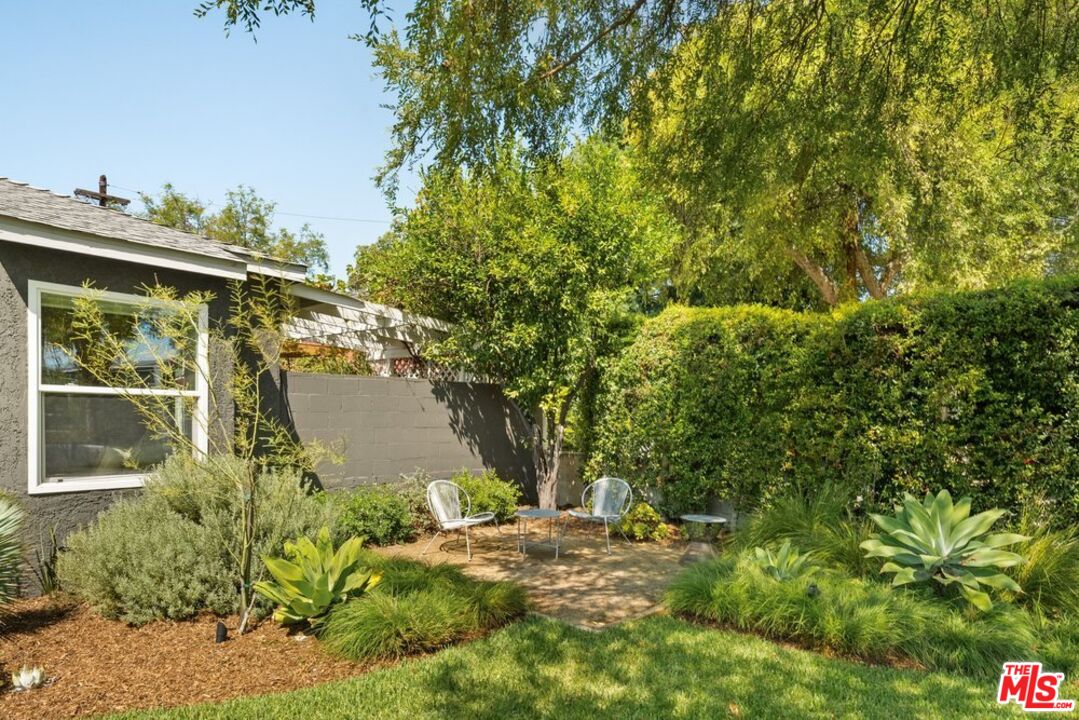
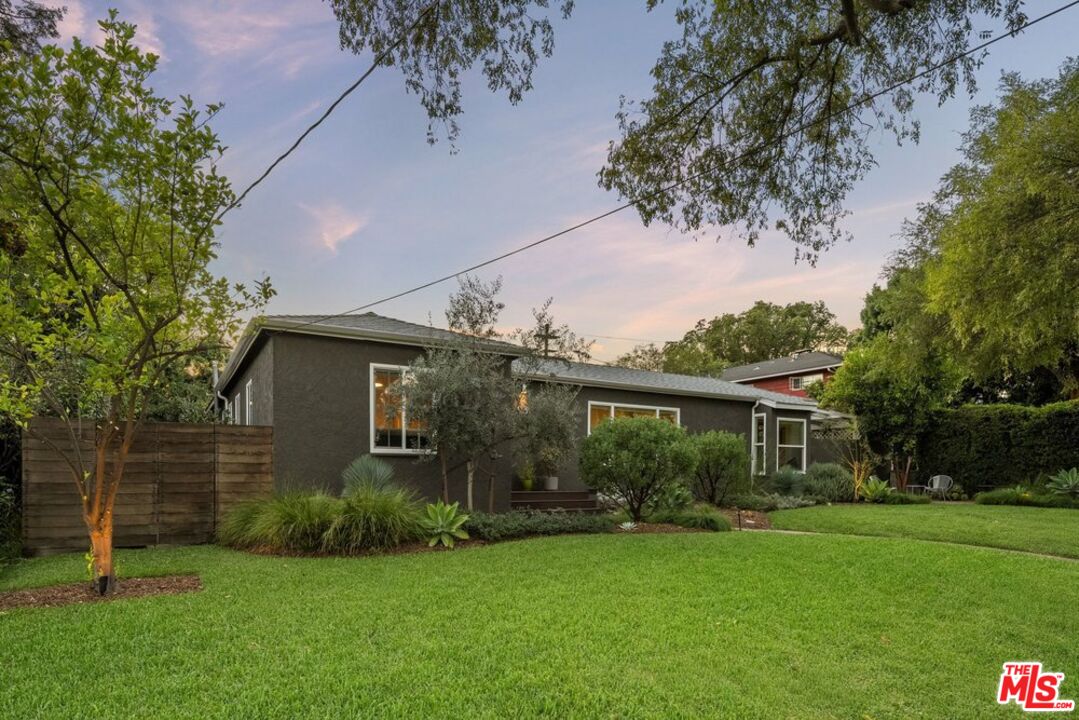
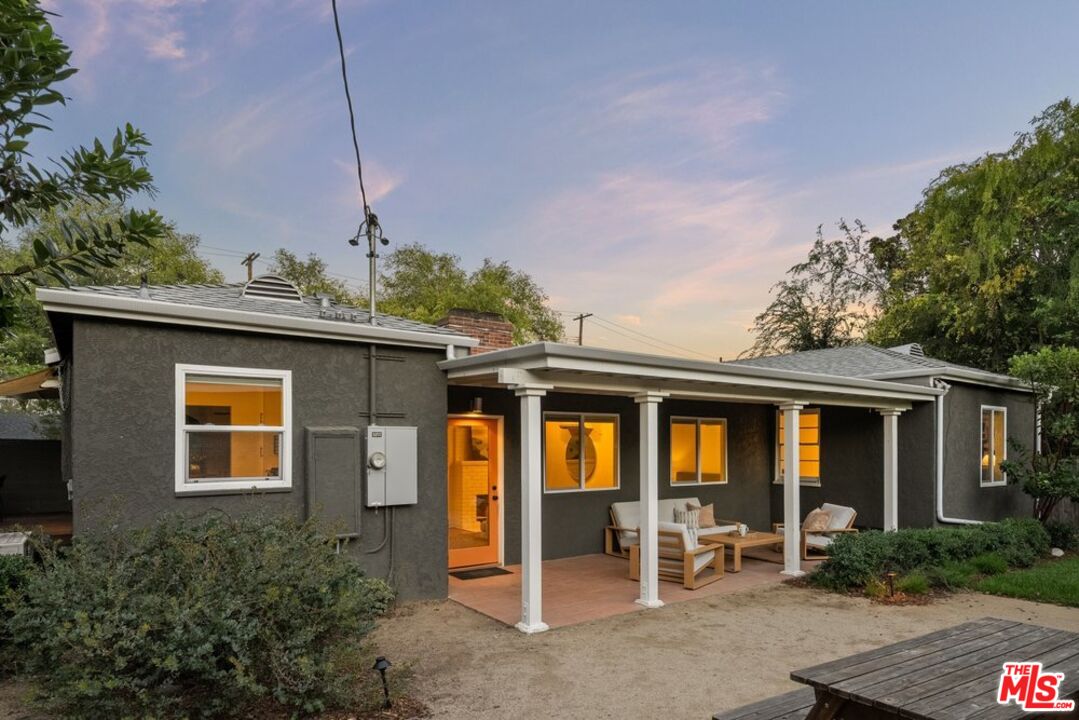
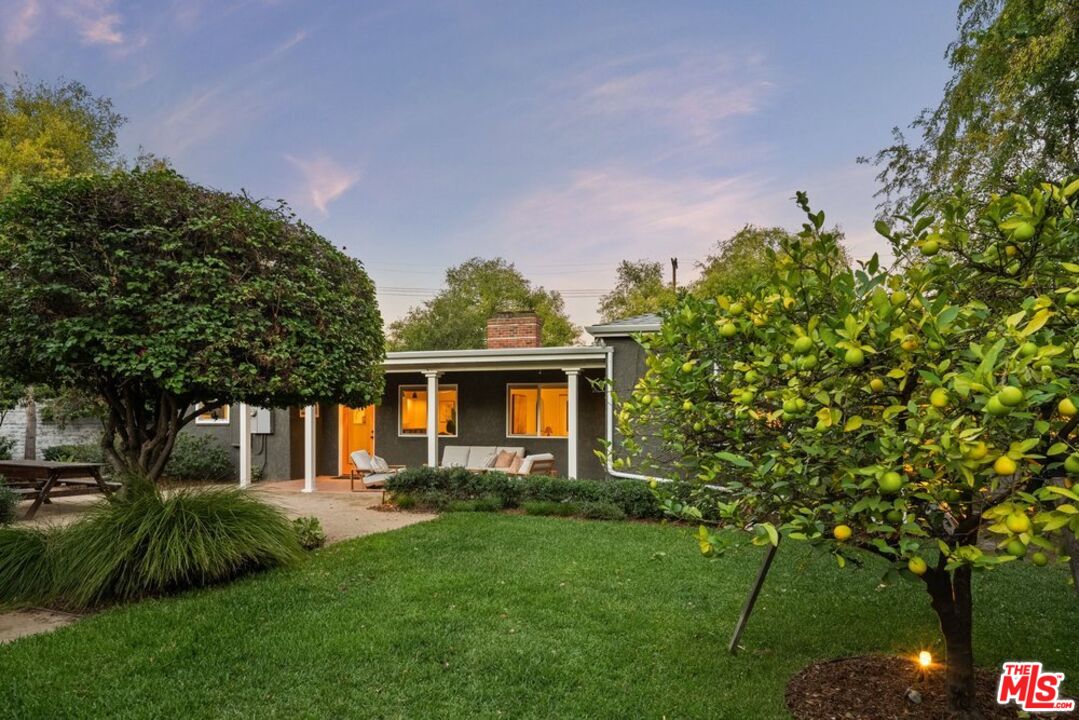
93 S Daisy Ave, Pasadena, CA 91107
$1,498,000Price
952Bedrooms
0Bathrooms
1,737Sq Ft
93 S Daisy Ave, Pasadena, CA 91107
$1,498,000Price
952Bedrooms
0Bathrooms
1,737Sq Ft
93 S Daisy Ave, Pasadena, CA 91107
$1,498,000Price
952Bedrooms
0Bathrooms
1,737Sq Ft
93 S Daisy Ave, Pasadena, CA 91107
$1,498,000Price
952Bedrooms
0Bathrooms
1,737Sq Ft
93 S Daisy Ave, Pasadena, CA 91107
$1,498,000Price
952Bedrooms
0Bathrooms
1,737Sq Ft
93 S Daisy Ave, Pasadena, CA 91107
$1,498,000Price
952Bedrooms
0Bathrooms
1,737Sq Ft
93 S Daisy Ave, Pasadena, CA 91107
$1,498,000Price
952Bedrooms
0Bathrooms
1,737Sq Ft
93 S Daisy Ave, Pasadena, CA 91107
$1,498,000Price
952Bedrooms
0Bathrooms
1,737Sq Ft
93 S Daisy Ave, Pasadena, CA 91107
$1,498,000Price
952Bedrooms
0Bathrooms
1,737Sq Ft
93 S Daisy Ave, Pasadena, CA 91107
$1,498,000Price
952Bedrooms
0Bathrooms
1,737Sq Ft
93 S Daisy Ave, Pasadena, CA 91107
$1,498,000Price
952Bedrooms
0Bathrooms
1,737Sq Ft
93 S Daisy Ave, Pasadena, CA 91107
$1,498,000Price
952Bedrooms
0Bathrooms
1,737Sq Ft
93 S Daisy Ave, Pasadena, CA 91107
$1,498,000Price
952Bedrooms
0Bathrooms
1,737Sq Ft
93 S Daisy Ave, Pasadena, CA 91107
$1,498,000Price
952Bedrooms
0Bathrooms
1,737Sq Ft
93 S Daisy Ave, Pasadena, CA 91107
$1,498,000Price
952Bedrooms
0Bathrooms
1,737Sq Ft
93 S Daisy Ave, Pasadena, CA 91107
$1,498,000Price
952Bedrooms
0Bathrooms
1,737Sq Ft
93 S Daisy Ave, Pasadena, CA 91107
$1,498,000Price
952Bedrooms
0Bathrooms
1,737Sq Ft
93 S Daisy Ave, Pasadena, CA 91107
$1,498,000Price
952Bedrooms
0Bathrooms
1,737Sq Ft
93 S Daisy Ave, Pasadena, CA 91107
$1,498,000Price
952Bedrooms
0Bathrooms
1,737Sq Ft
93 S Daisy Ave, Pasadena, CA 91107
$1,498,000Price
952Bedrooms
0Bathrooms
1,737Sq Ft
93 S Daisy Ave, Pasadena, CA 91107
$1,498,000Price
952Bedrooms
0Bathrooms
1,737Sq Ft
93 S Daisy Ave, Pasadena, CA 91107
$1,498,000Price
952Bedrooms
0Bathrooms
1,737Sq Ft
93 S Daisy Ave, Pasadena, CA 91107
$1,498,000Price
952Bedrooms
0Bathrooms
1,737Sq Ft
93 S Daisy Ave, Pasadena, CA 91107
$1,498,000Price
952Bedrooms
0Bathrooms
1,737Sq Ft
93 S Daisy Ave, Pasadena, CA 91107
$1,498,000Price
952Bedrooms
0Bathrooms
1,737Sq Ft
93 S Daisy Ave, Pasadena, CA 91107
$1,498,000Price
952Bedrooms
0Bathrooms
1,737Sq Ft
93 S Daisy Ave, Pasadena, CA 91107
$1,498,000Price
952Bedrooms
0Bathrooms
1,737Sq Ft
93 S Daisy Ave, Pasadena, CA 91107
$1,498,000Price
952Bedrooms
0Bathrooms
1,737Sq Ft
93 S Daisy Ave, Pasadena, CA 91107
$1,498,000Price
952Bedrooms
0Bathrooms
1,737Sq Ft
93 S Daisy Ave, Pasadena, CA 91107
$1,498,000Price
952Bedrooms
0Bathrooms
1,737Sq Ft
93 S Daisy Ave, Pasadena, CA 91107
$1,498,000Price
952Bedrooms
0Bathrooms
1,737Sq Ft
93 S Daisy Ave, Pasadena, CA 91107
$1,498,000Price
952Bedrooms
0Bathrooms
1,737Sq Ft
93 S Daisy Ave, Pasadena, CA 91107
$1,498,000Price
952Bedrooms
0Bathrooms
1,737Sq Ft
93 S Daisy Ave, Pasadena, CA 91107
$1,498,000Price
952Bedrooms
0Bathrooms
1,737Sq Ft
93 S Daisy Ave, Pasadena, CA 91107
$1,498,000Price
952Bedrooms
0Bathrooms
1,737Sq Ft
93 S Daisy Ave, Pasadena, CA 91107
$1,498,000Price
952Bedrooms
0Bathrooms
1,737Sq Ft
93 S Daisy Ave, Pasadena, CA 91107
$1,498,000Price
952Bedrooms
0Bathrooms
1,737Sq Ft
93 S Daisy Ave, Pasadena, CA 91107
$1,498,000Price
952Bedrooms
0Bathrooms
1,737Sq Ft
93 S Daisy Ave, Pasadena, CA 91107
$1,498,000Price
952Bedrooms
0Bathrooms
1,737Sq Ft
93 S Daisy Ave, Pasadena, CA 91107
$1,498,000Price
952Bedrooms
0Bathrooms
1,737Sq Ft
93 S Daisy Ave, Pasadena, CA 91107
$1,498,000Price
952Bedrooms
0Bathrooms
1,737Sq Ft
93 S Daisy Ave, Pasadena, CA 91107
$1,498,000Price
952Bedrooms
0Bathrooms
1,737Sq Ft
93 S Daisy Ave, Pasadena, CA 91107
$1,498,000Price
952Bedrooms
0Bathrooms
1,737Sq Ft
93 S Daisy Ave, Pasadena, CA 91107
$1,498,000Price
952Bedrooms
0Bathrooms
1,737Sq Ft
93 S Daisy Ave, Pasadena, CA 91107
$1,498,000Price
952Bedrooms
0Bathrooms
1,737Sq Ft
93 S Daisy Ave, Pasadena, CA 91107
$1,498,000Price
952Bedrooms
0Bathrooms
1,737Sq Ft
93 S Daisy Ave, Pasadena, CA 91107
$1,498,000Price
952Bedrooms
0Bathrooms
1,737Sq Ft
93 S Daisy Ave, Pasadena, CA 91107
$1,498,000Price
952Bedrooms
0Bathrooms
1,737Sq Ft
93 S Daisy Ave, Pasadena, CA 91107
$1,498,000Price
952Bedrooms
0Bathrooms
1,737Sq Ft
93 S Daisy Ave, Pasadena, CA 91107
$1,498,000Price
952Bedrooms
0Bathrooms
1,737Sq Ft
93 S Daisy Ave, Pasadena, CA 91107
$1,498,000Price
952Bedrooms
0Bathrooms
1,737Sq Ft