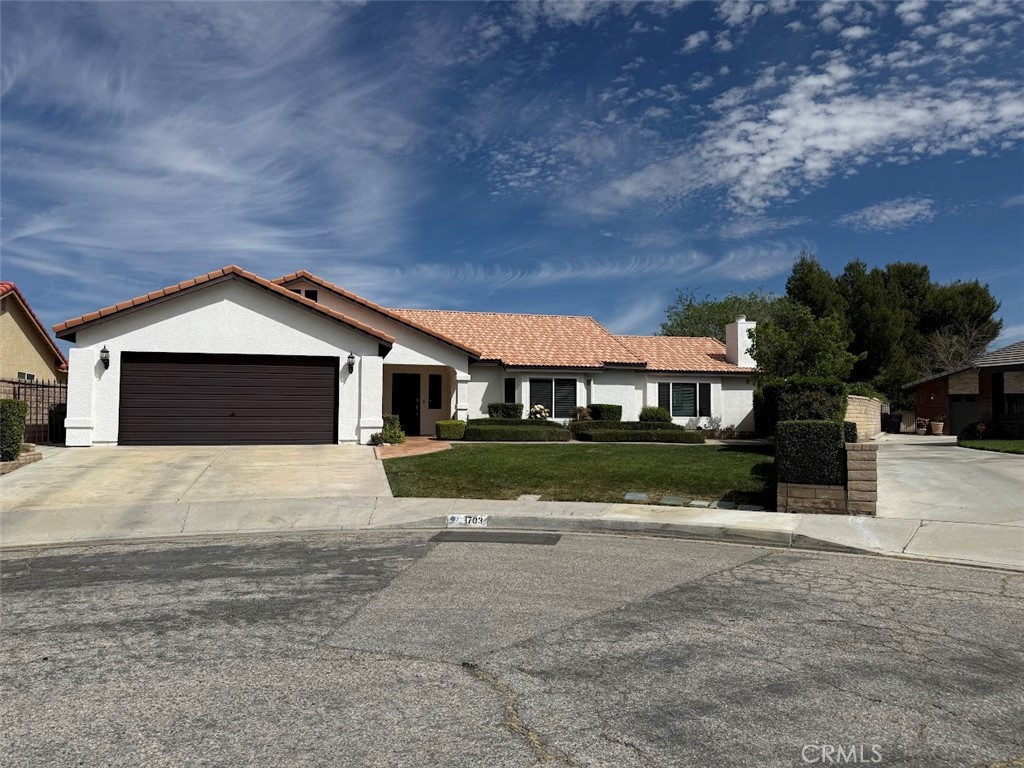
Welcome to this beautifully maintained semi-custom home, perfectly situated on a quiet cul-de-sac where each residence is uniquely built—offering character, privacy, and charm you won’t find in typical tract neighborhoods. Step inside to discover an inviting layout featuring both a living room and family room with recessed LED lighting, elegant travertine flooring throughout the main living areas, and plush carpeting in the bedrooms for added comfort. A cozy gas fireplace adds warmth and ambiance, creating the perfect setting for relaxing evenings. The heart of the home is the gorgeous kitchen, complete with granite countertops, a center island, double oven, five-burner range, built-in microwave, and a full suite of appliances—including a smart refrigerator (with dual ice makers) and smart dishwasher—all included. The spacious primary suite is a true retreat, featuring a sliding glass door that opens to a private backyard patio. The en-suite bathroom offers a spa-like experience with skylights, an oversized soaking tub, separate shower, and high-efficiency dual-flush fixtures. Step through double doors into your private backyard oasis, designed for both relaxation and entertaining. Enjoy a resurfaced pool (2022) with new tile, a programmable multi-speed pool motor (2023), and a solar-heated system with thermostat. The beautifully landscaped front and rear yards include an automated sprinkler system, plus a dedicated garden area with its own irrigation. Patio furniture and BBQ grill are included—making this outdoor space truly move-in ready. Additional highlights include: Separate indoor laundry room with energy-efficient washer & dryer (included) Smart home features: thermostat, Ring camera, and kitchen appliances Keyless front entry system Double-pane windows throughout High-speed connectivity with RACE fiber optic wiring and Spectrum compatibility New Day & Night HVAC system (2019) Two-car attached garage with attic access (pull-down ladder),